
Interested in converting your ticket purchase to a brand-new DCT Flex Package?book.
Learn more about this exciting offering for the upcoming 2026-2027 season.
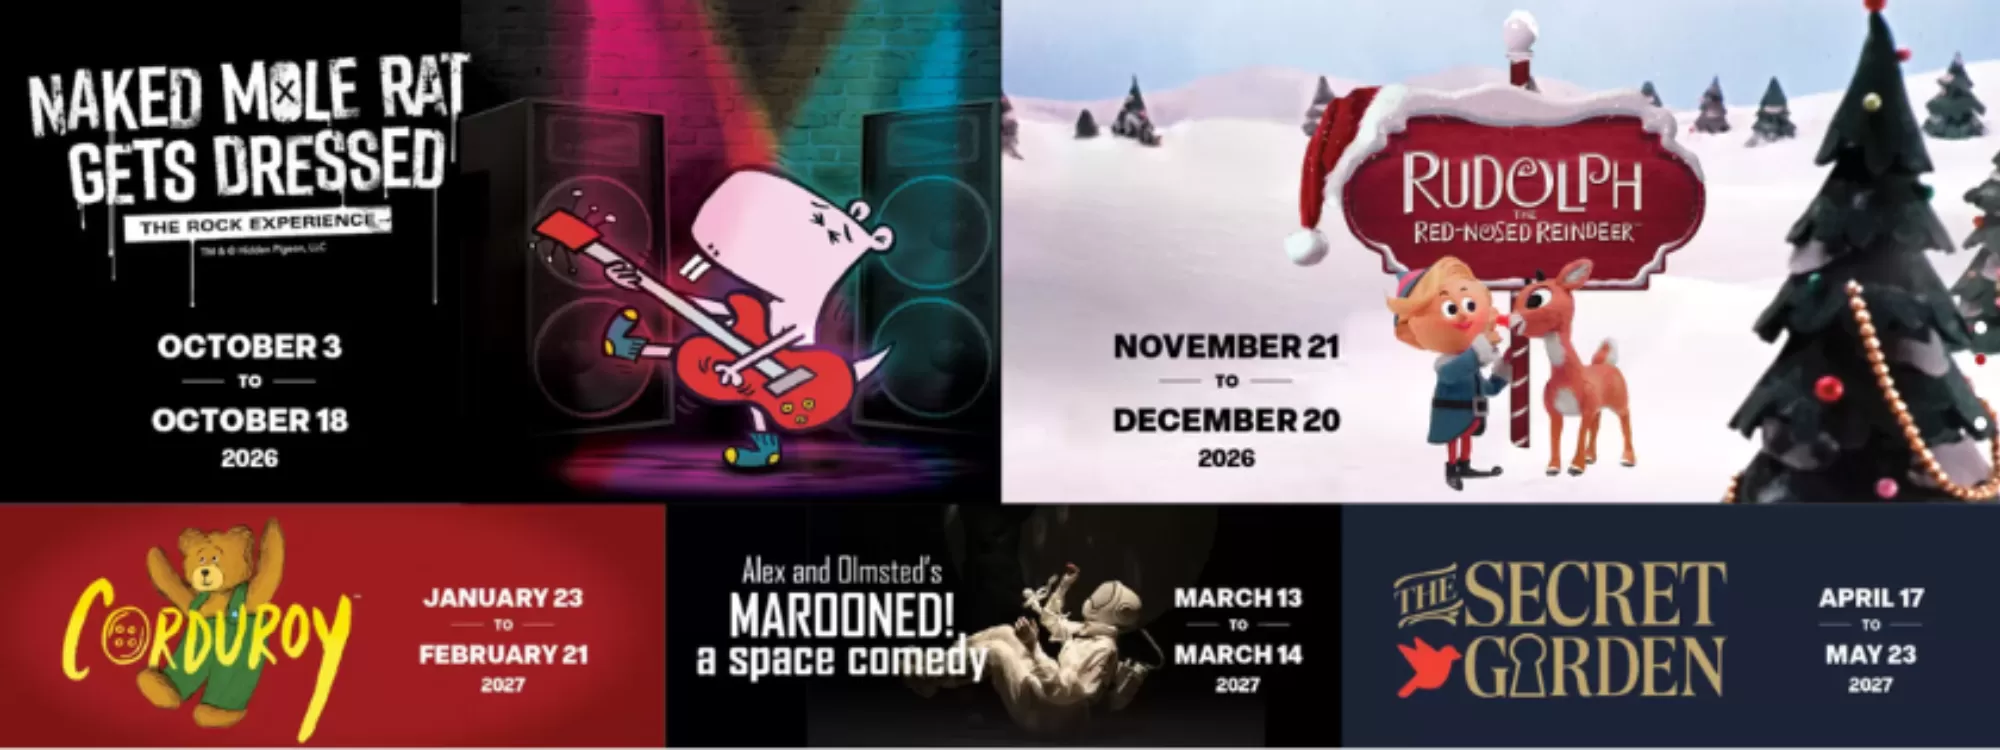
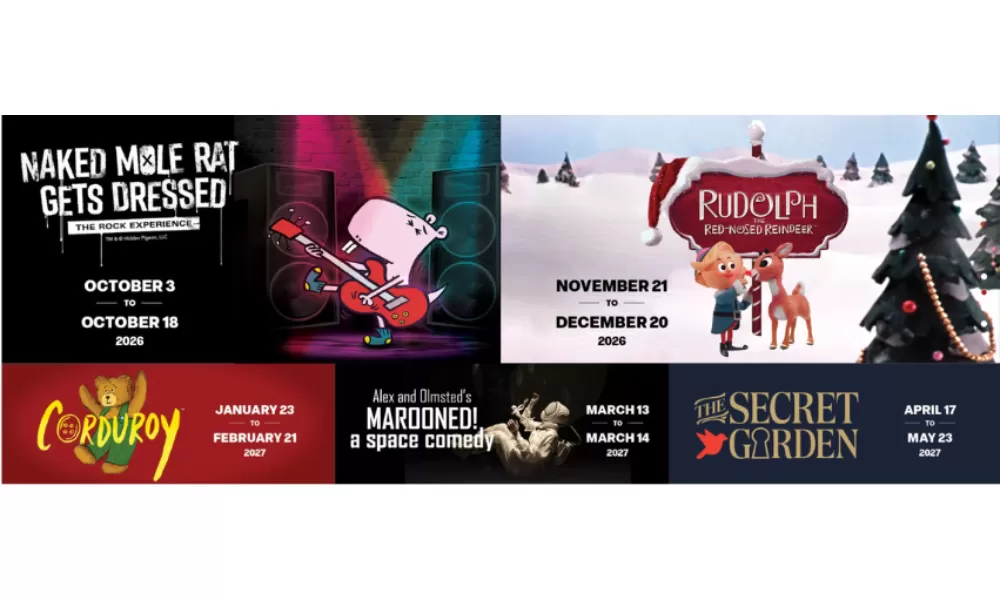
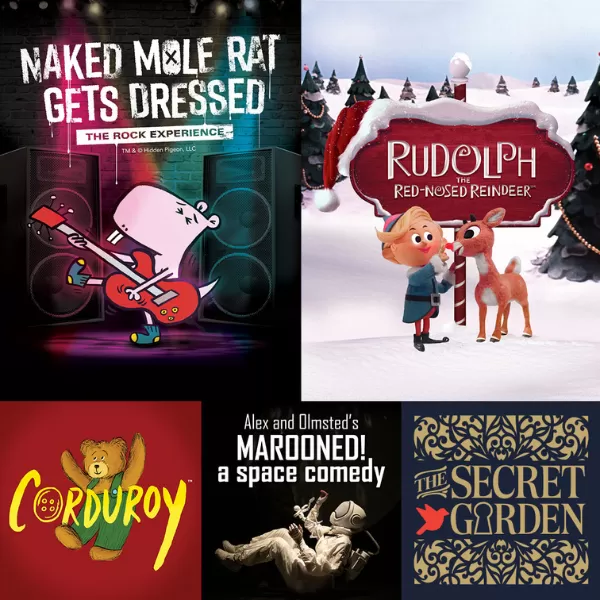
2026-2027 Season
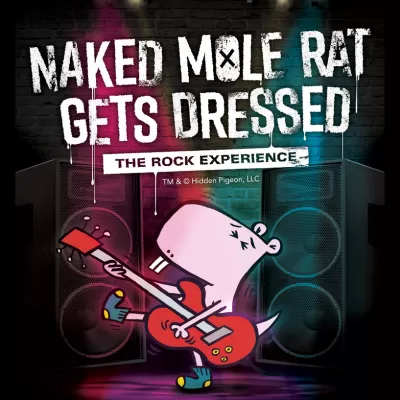
Naked Mole Rat Gets Dressed: The Rock Experience
Oct 3, 2026 - Oct 18, 2026
Based on the hit children's book by Mo Willems. Wilbur and all his fellow naked mole rats in the Tunnel have always been, well...naked. Wondering what other possibilities are out there, Wilbur discovers a love for clothing and style. When word of his new passion turns the Tunnel upside down, he...
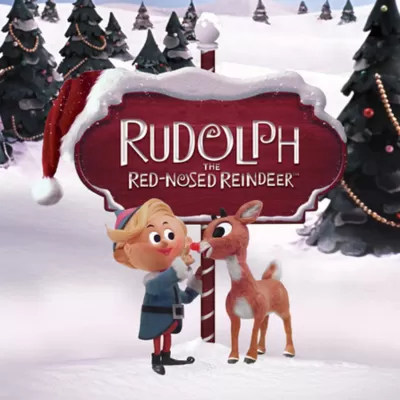
Rudolph the Red-Nosed Reindeer
Nov 21, 2026 - Dec 20, 2026
The holiday classic soars off the screen in this musical adaptation of the beloved television special. Filled with holiday hits like "Rudolph the Red-Nosed Reindeer" and "A Holly Jolly Christmas," Rudolph the Red-Nosed Reindeer™ features all of your favorite characters including Santa...
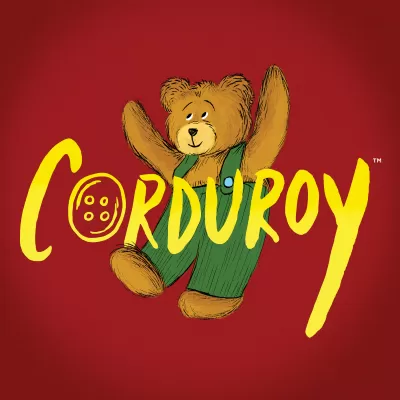
Corduroy
Jan 23, 2027 - Feb 21, 2027
Oh no, Corduroy’s button has gone missing, and he can’t go home with kindhearted Lisa without it! Join the beloved teddy bear as he takes a rollicking ride up the escalator and begins a delightfully destructive romp through every section of the department store. Will he find his button at the...
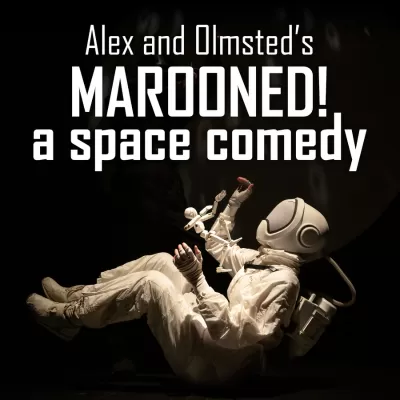
Marooned! A Space Comedy
Mar 13, 2027 - Mar 14, 2027
An astronaut traveling 87,000 light years into space crash-lands on an uncharted planet where she must resort to emergency measures to seek rescue. From the award-winning team Alex and Olmsted, MAROONED! A Space Comedy is a show where elegant puppetry design meets joyful, meaningful...
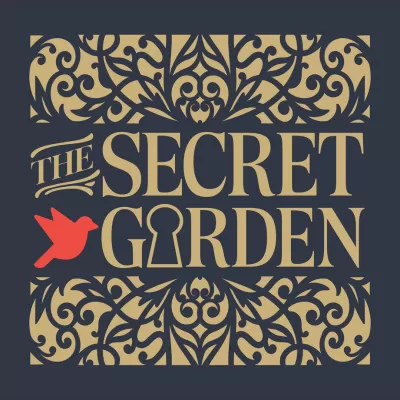
The Secret Garden
Apr 17, 2027 - May 23, 2027
This enchanting classic of children's literature is reimagined in brilliant musical style by composer Lucy Simon and Marsha Norman, the Pulitzer Prize-winning playwright. Orphaned 11-year-old Mary Lennox returns to Yorkshire to live with her uncle Archibald and his son Colin. The estate's many...
Image Credits: Corduroy Based on Corduroy and A Pocket for Corduroy by Don Freeman. Licensed by CBS Studios Productions LLC ™ & © 2018. Alex and Olmsted's Marooned! A Space Comedy Photograph by Ryan Maxwell Photography. Logo courtesy of Alex and Olmsted. The Secret Garden © Dallas Children’s Theater 2026-27.